How to Draw a Honey Badger
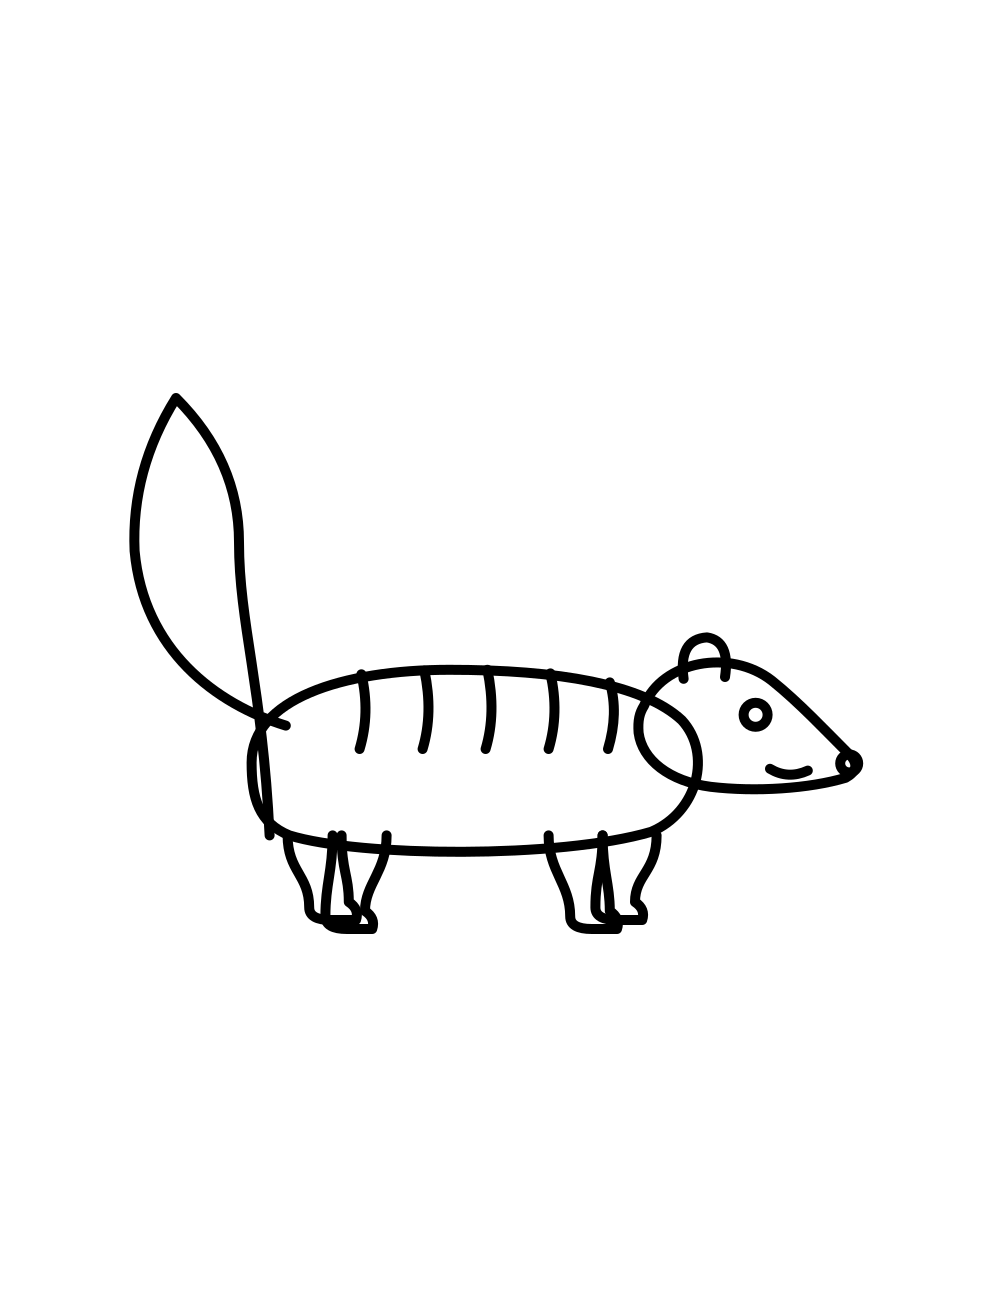
A honey badger is simple to draw because it is built from a round head and a wide, low body close to the ground. Then you add four short, strong legs, a tiny ear and a short tail. The long curve of the pale stripe along its back is what makes it look like a honey badger.
Watch it come together
What you need
- Paper
- Pencil
- Eraser
- Black marker or fine pen
- Black and gray colored pencils
Steps
Step 1 of 6
Draw a round head on the right side of the page.
Step 2 of 6
Draw a wide, low body behind the head, starting and ending the line at the head.
Step 3 of 6
Draw four short, strong legs with round paws under the body.
Step 4 of 6
Add a tiny round ear on top of the head and a short tail at the back.
Step 5 of 6
Draw a long curve from the top of the head to the tail for the pale stripe on the back.
Step 6 of 6
Draw a dot for the eye, a round nose and a small smile.
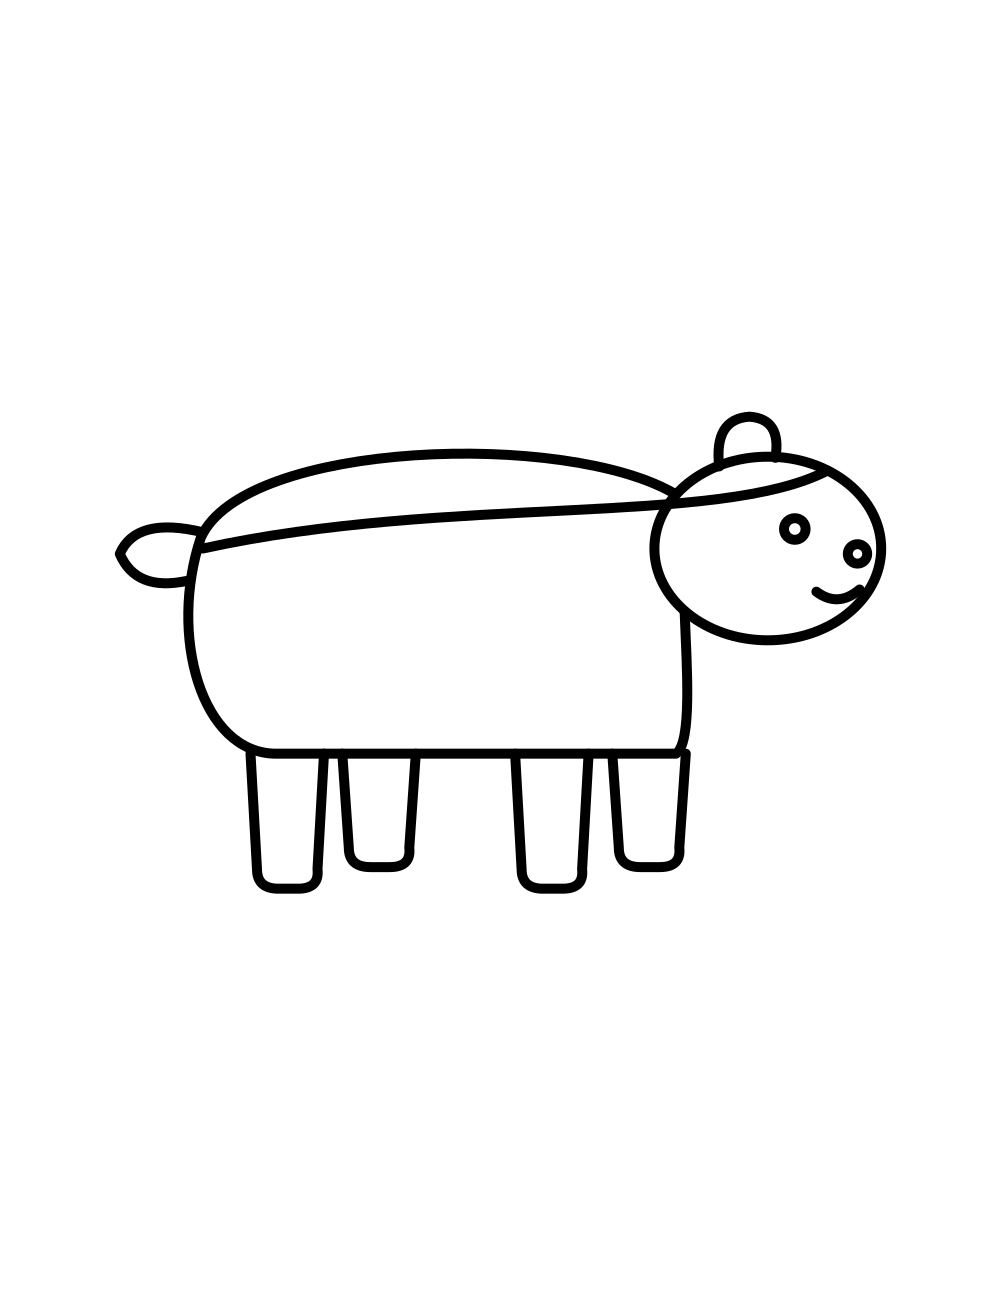
All together
Your finished drawing. Now it is ready for color.
Ready to color?
Print the coloring page of this drawing in three levels, or color it on screen.
Go to the coloring pageTracing worksheet
Print the sheet and trace over the faint lines to practice before you draw on your own.
Questions and answers
- How do I make my drawing look like a honey badger?
- Keep the body low and wide and the legs short. Then draw the long curve from the top of the head to the tail, so the pale stripe can be colored lighter than the rest.
- How big should the honey badger's ear be?
- Very small. A tiny round bump on top of the head is enough, because a honey badger's ears are short and hard to see.