How to Draw a Warthog
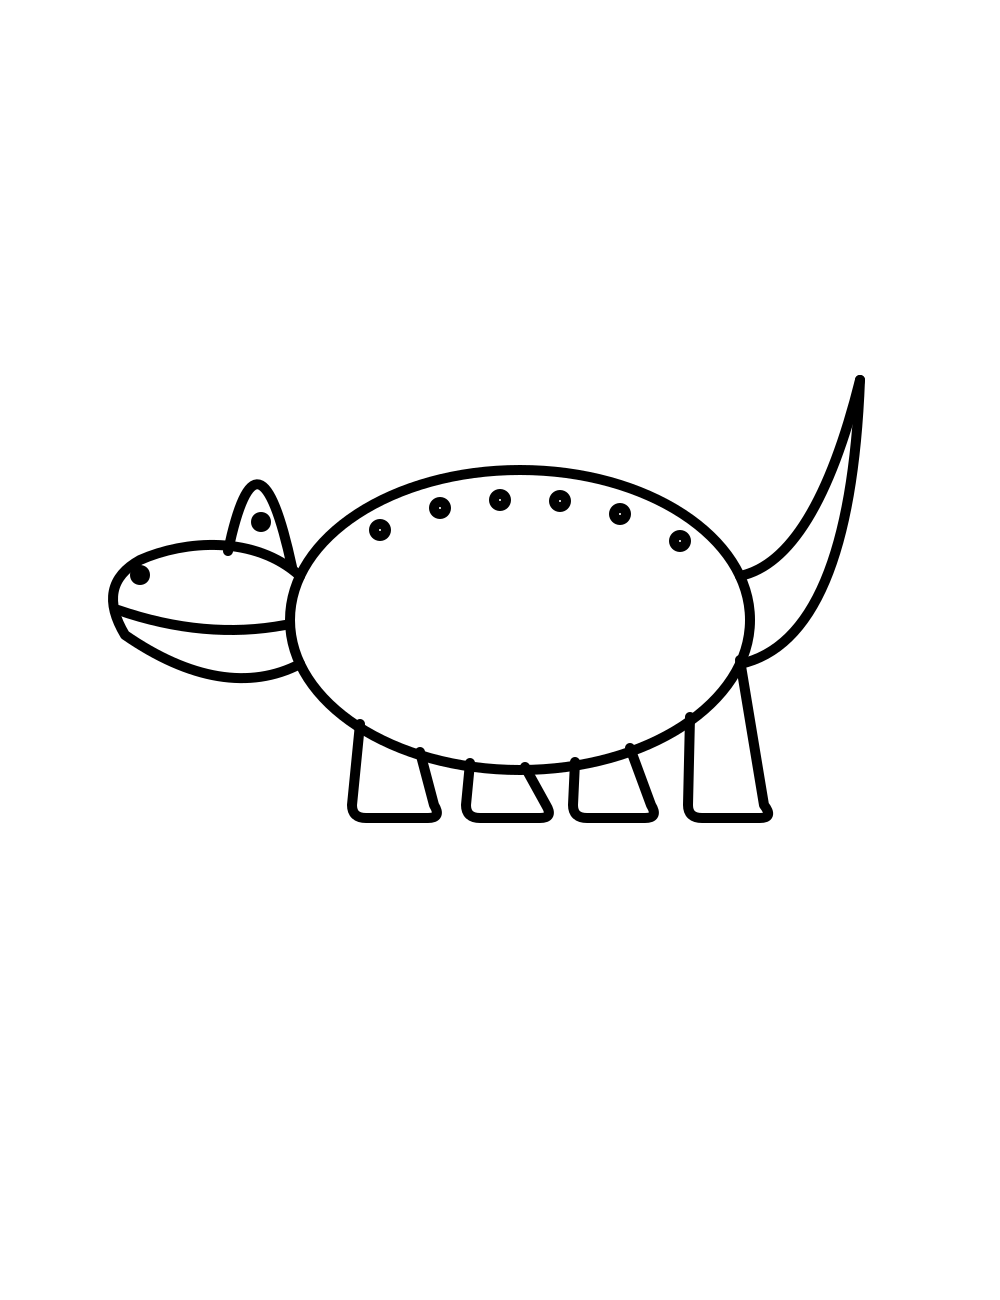
A warthog looks tricky, but it is made from a big oval head and a round body that joins it. After that come four thin legs, a mane that follows the line of the back, and a thin tail with a tuft pointing up. Save the tusk for last, because it is the part that makes the animal a warthog.
Watch it come together
What you need
- Paper
- Pencil
- Eraser
- Black marker or fine pen
- Brown and grey colored pencils
Steps
Step 1 of 7
Draw a big oval for the head, on the left side of the page.
Step 2 of 7
Draw a big round body behind the head, starting the line at the head and ending it back at the head.
Step 3 of 7
Draw four thin legs under the body.
Step 4 of 7
Draw a long, smooth mane over the back, and a pointed ear in front of it.
Step 5 of 7
Add a thin tail at the back that points up, with a little tuft at the end.
Step 6 of 7
Draw a dot for the eye, a nostril at the front of the face and two little bumps on the cheek.
Step 7 of 7
Finish with a big curved tusk that sticks out from the snout and points up.
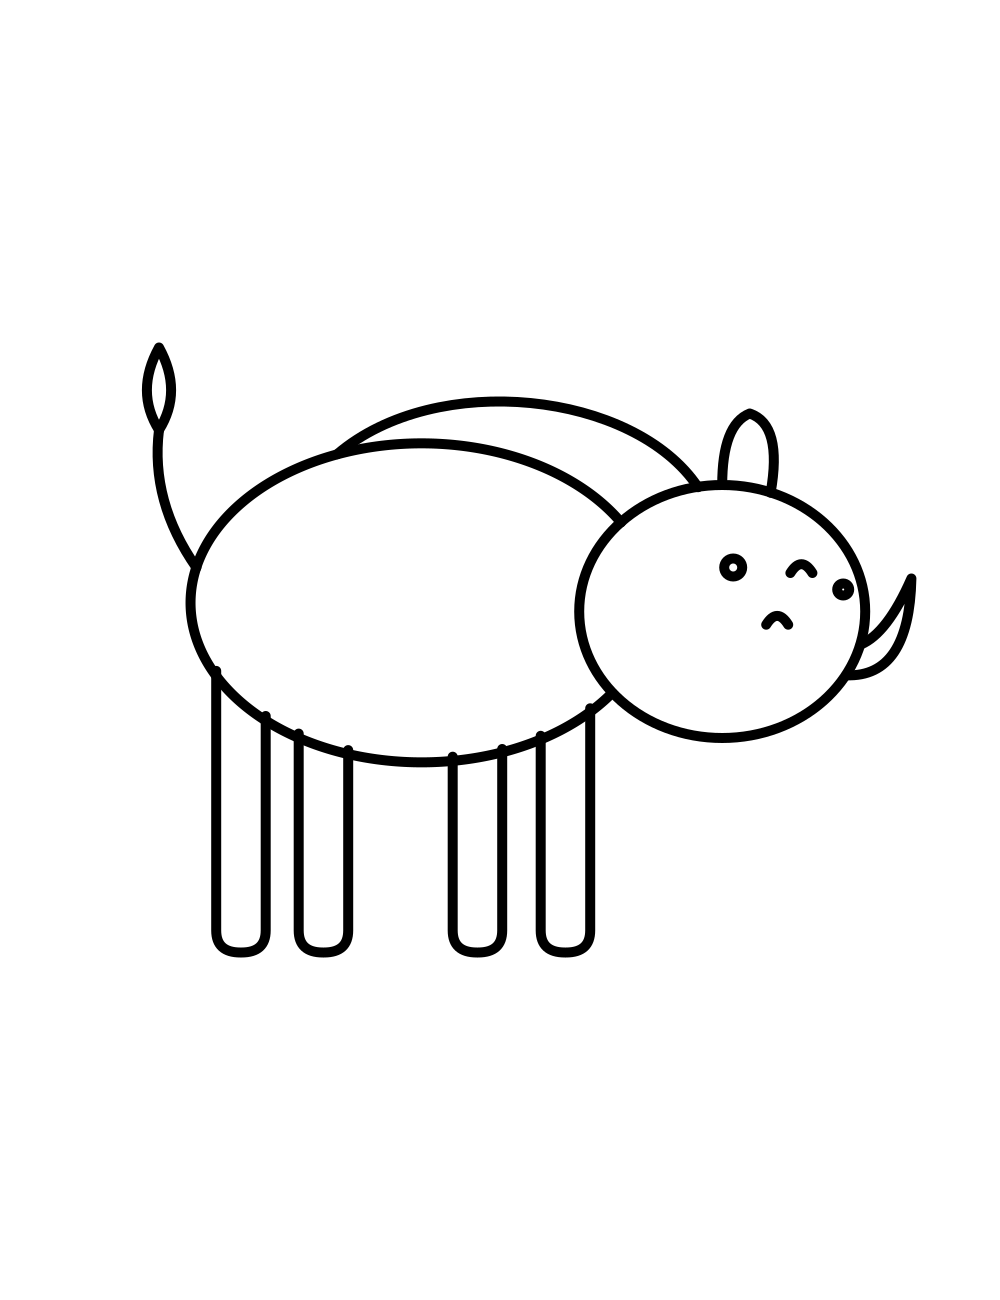
All together
Your finished drawing. Now it is ready for color.
Ready to color?
Print the coloring page of this drawing in three levels, or color it on screen.
Go to the coloring pageTracing worksheet
Print the sheet and trace over the faint lines to practice before you draw on your own.
Questions and answers
- How do I draw the warthog's tusk?
- Draw one big curve that starts near the mouth and swings upward, then close it with a short line at the base so it looks like a thick, pointed tooth. Start lightly and adjust the curve until it feels right.
- How do I draw a warthog's mane?
- A single long, smooth curve over the back is enough for the line drawing. When you color, you can add short strokes along it to make it look bristly.