How to Draw a Leopard
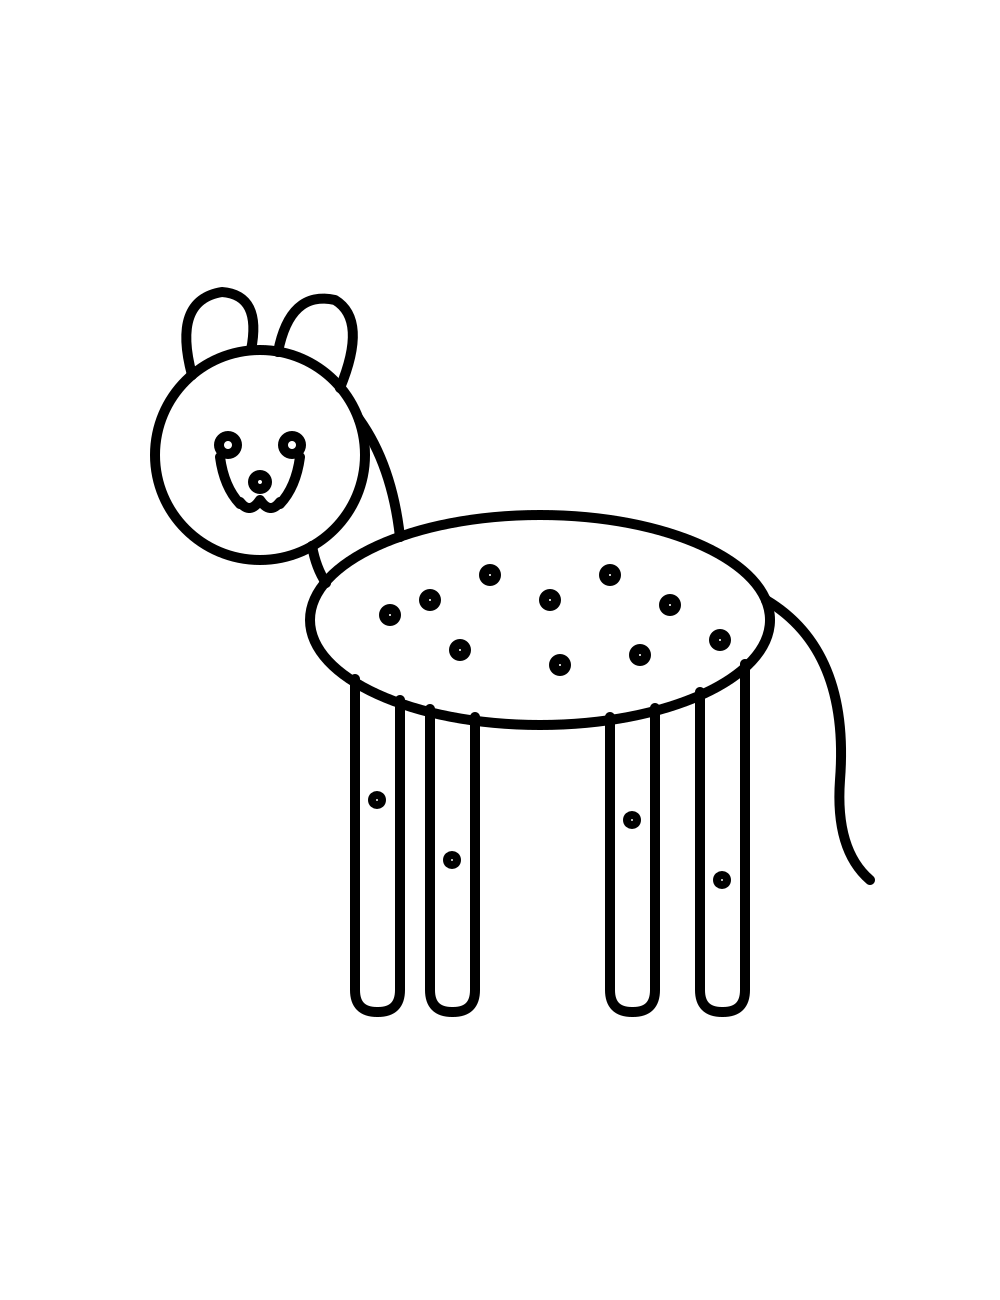
This leopard sits upright, which makes it easy to draw: a round head on top of a body shaped like a pear with a flat bottom. In six steps you add the front legs, two round ears, a long tail curling around the side, the face and, last of all, the spots that make it a leopard. The tracing worksheet is there if you want to practice the pear shape first.
Watch it come together
What you need
- Pencil
- Eraser
- Paper
- Black or brown marker for the spots
- Golden-yellow and orange pencils
Steps
Step 1 of 6
Draw a big circle for the head.
Step 2 of 6
Under the head, draw a sitting body shaped like a big pear with a flat bottom.
Step 3 of 6
Draw three lines down the front of the body to make the two front legs, and add little toe lines at the bottom.
Step 4 of 6
Add two round ears on top of the head and a long tail that curls around the side.
Step 5 of 6
Draw the eyes, a small nose and a smiling mouth, then a curve on each side of the body for the back legs.
Step 6 of 6
Cover the head and body with little curved marks for the spots.
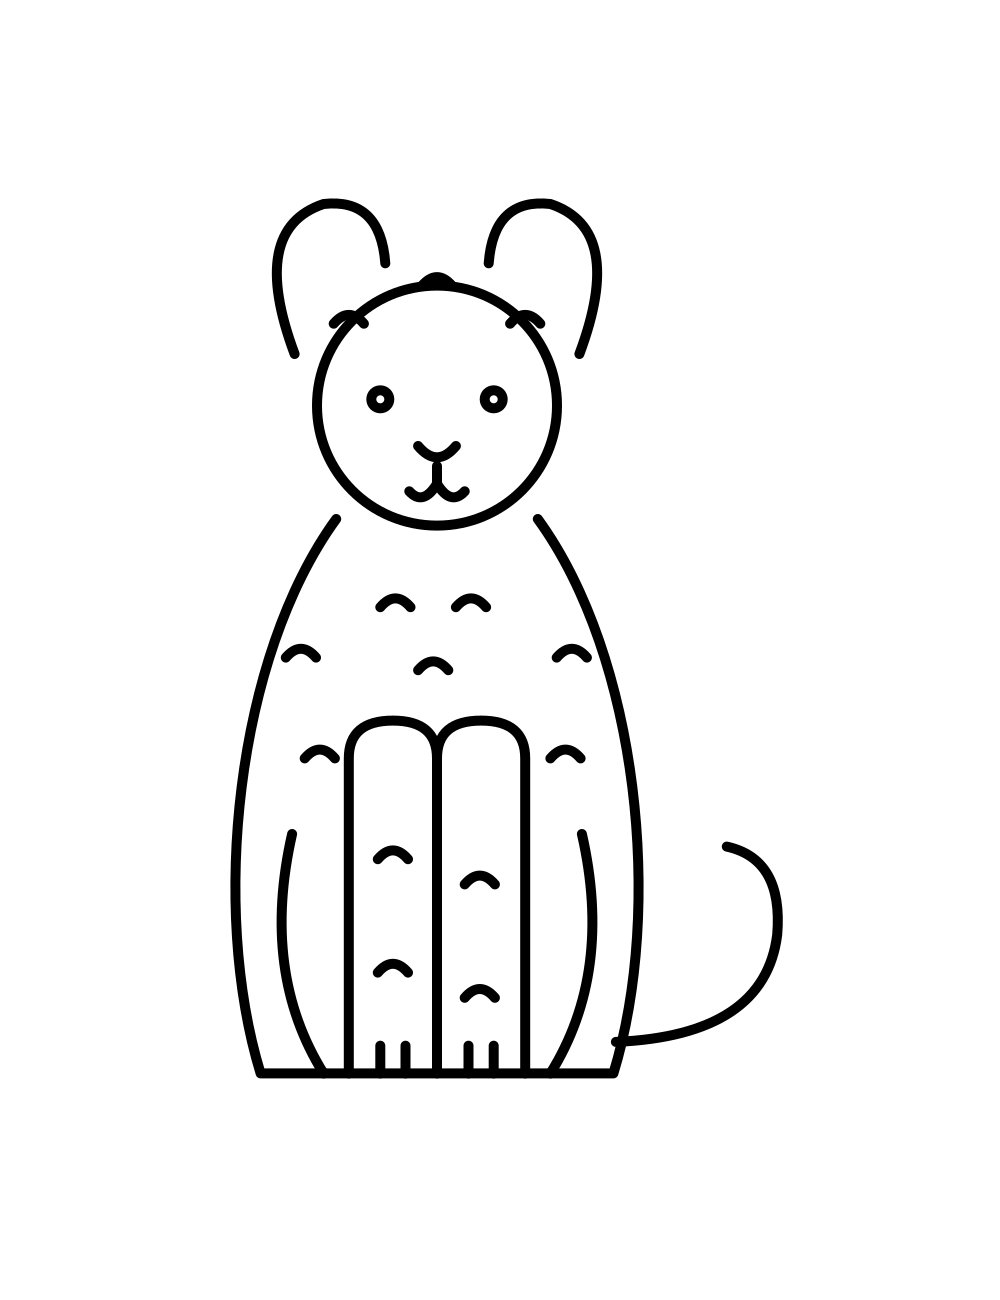
All together
Your finished drawing. Now it is ready for color.
Ready to color?
Print the coloring page of this drawing in three levels, or color it on screen.
Go to the coloring pageTracing worksheet
Print the sheet and trace over the faint lines to practice before you draw on your own.
Questions and answers
- Why is the leopard drawn sitting?
- A sitting leopard is made of a circle and a pear shape, which is much easier than a stretched-out running cat. It also leaves room for the tail to curl around the side.
- How can I draw the spots so they look natural?
- Use short curved marks, make each one a little different and scatter them instead of lining them up in rows. Real leopard spots are uneven too.