How to Draw a Rhino
A rhino looks tough, but you can draw one from a long oval, a big round body and four sturdy legs. The seven steps then add a pointed ear, a short tail, a big horn with a smaller one behind it, a friendly face and two curved folds in the skin. Take it one step at a time, and use the tracing worksheet to get the horn shapes just right.
Watch it come together
What you need
- Pencil
- Eraser
- Paper
- Grey and brown pencils or markers
Steps
Step 1 of 7
Draw a long oval for the head.
Step 2 of 7
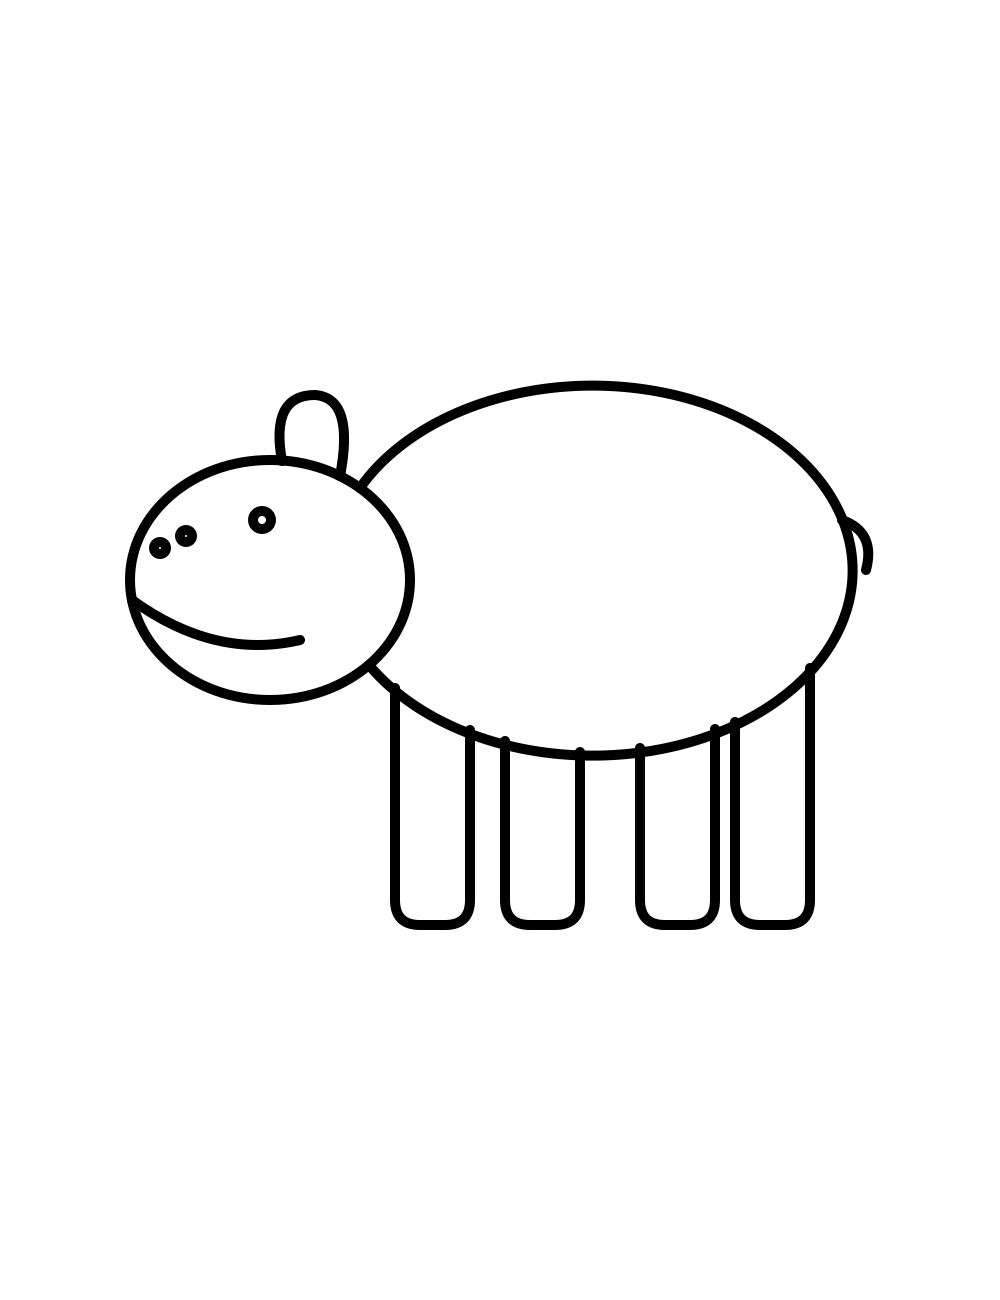
Draw a big round body behind the head, starting and ending at the head.
Step 3 of 7
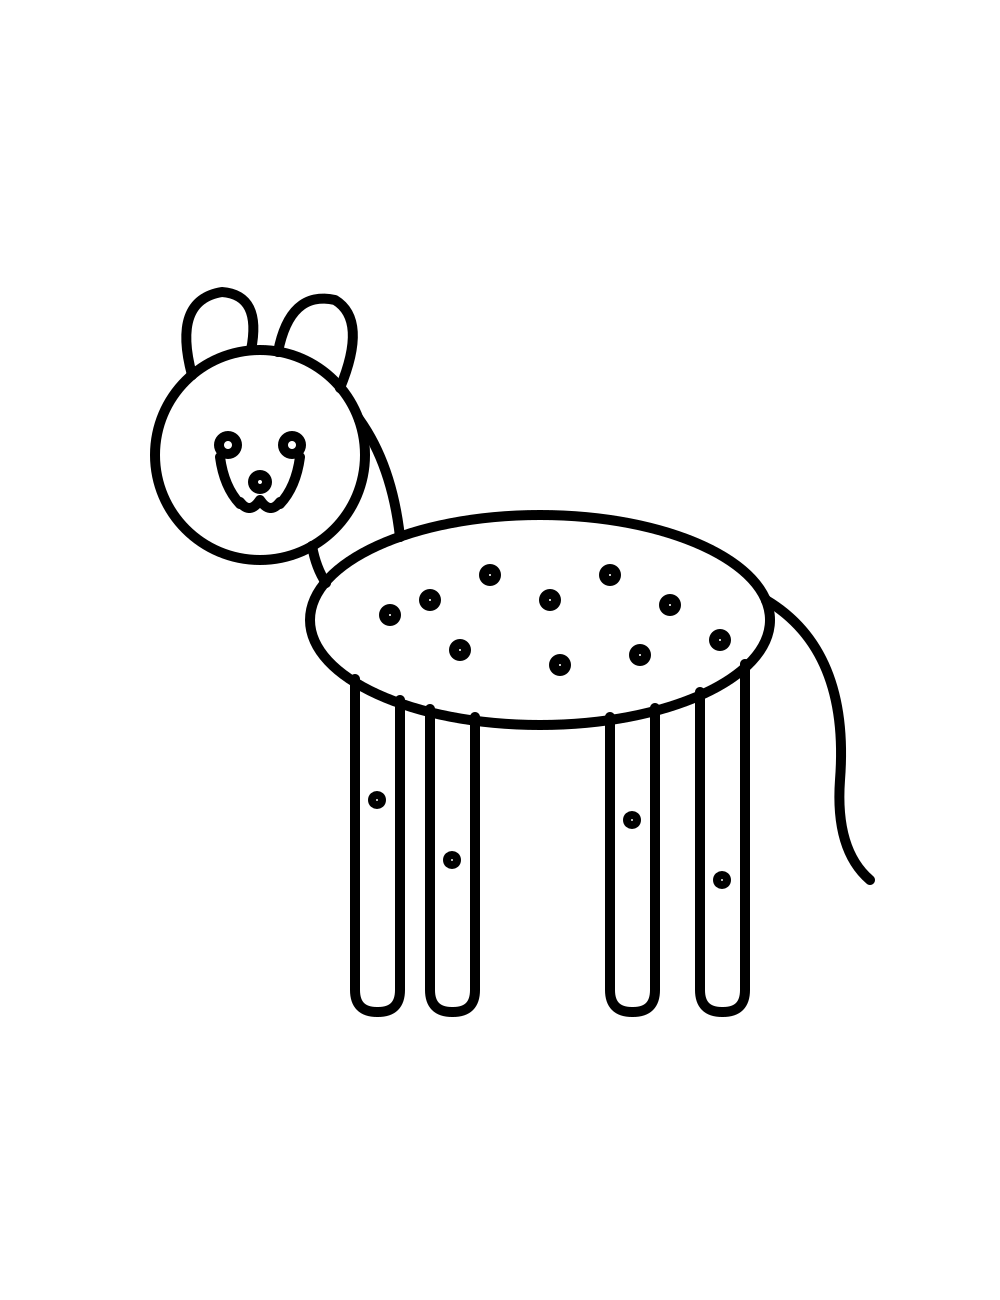
Add four thick legs under the body.
Step 4 of 7
Draw a pointed ear on top of the head and a short tail at the back.
Step 5 of 7
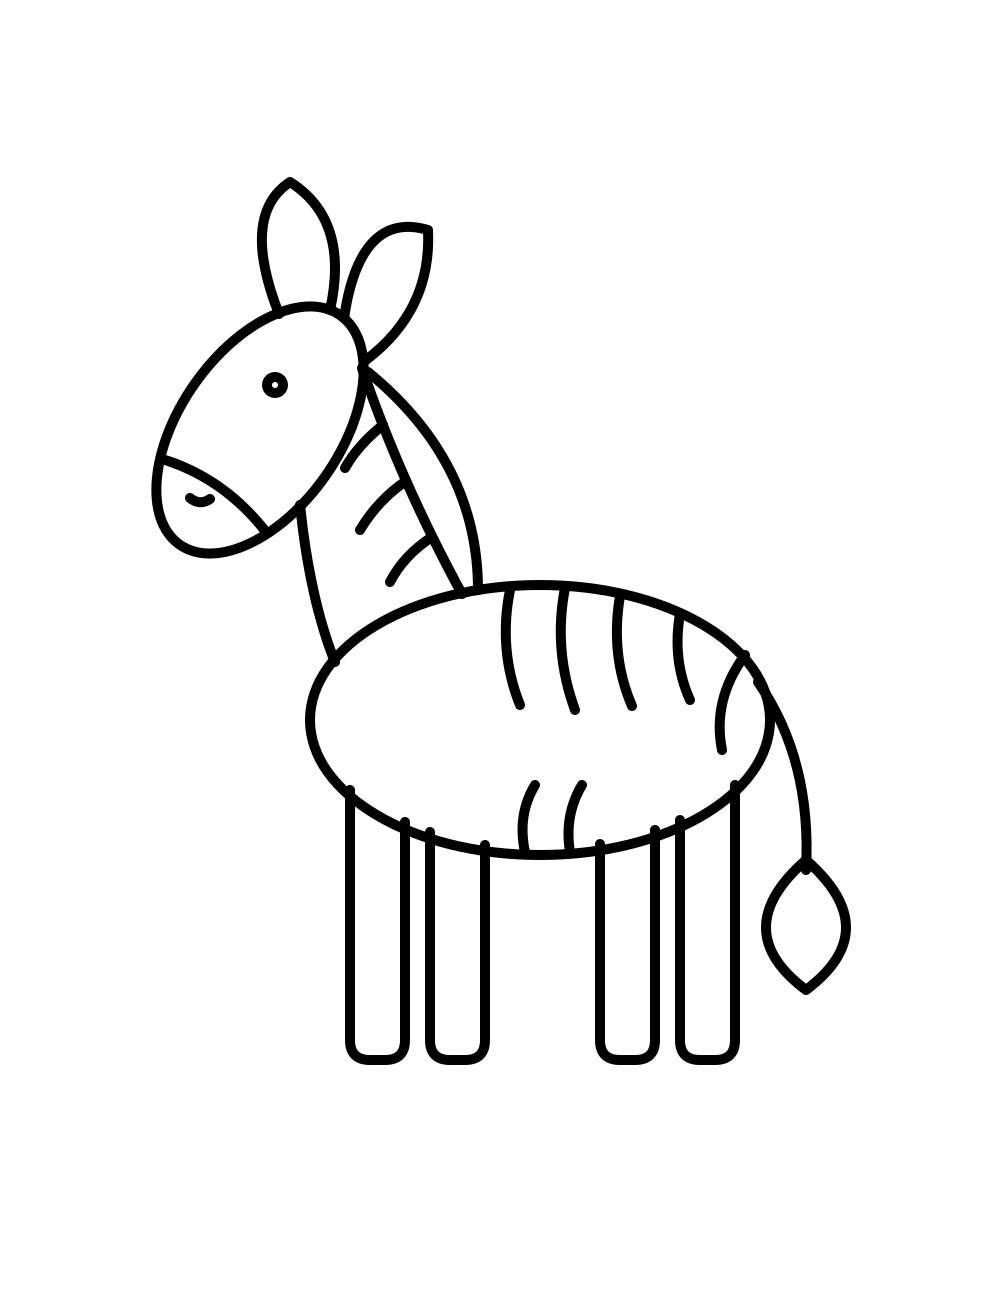
Draw a big horn on the nose and a smaller horn behind it.
Step 6 of 7
Add a dot for the eye, a little nostril and a smiling mouth.
Step 7 of 7
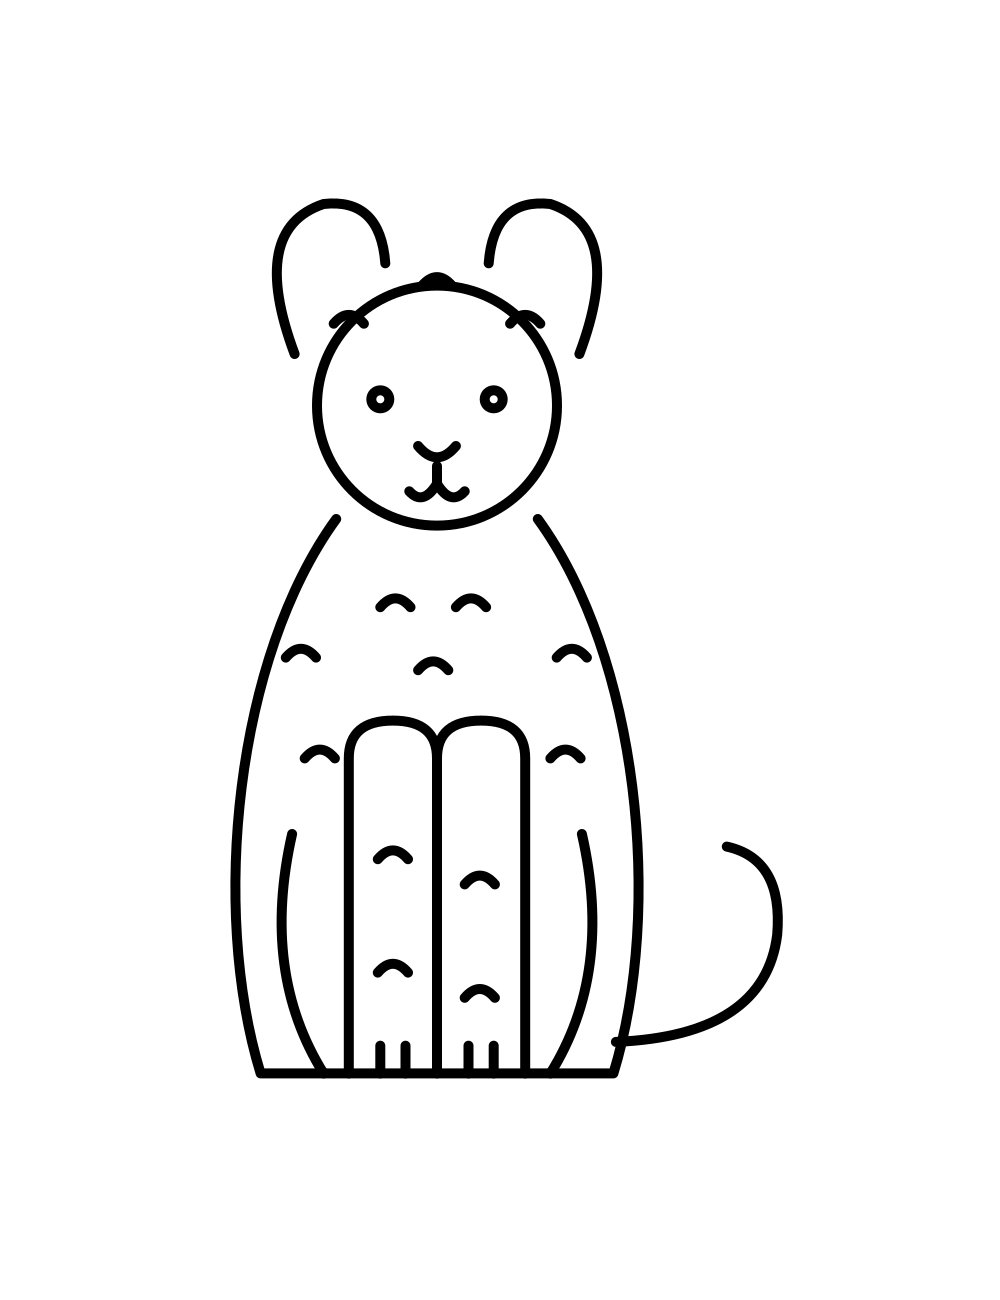
Draw two curved folds in the skin, one at the shoulder and one at the hip.
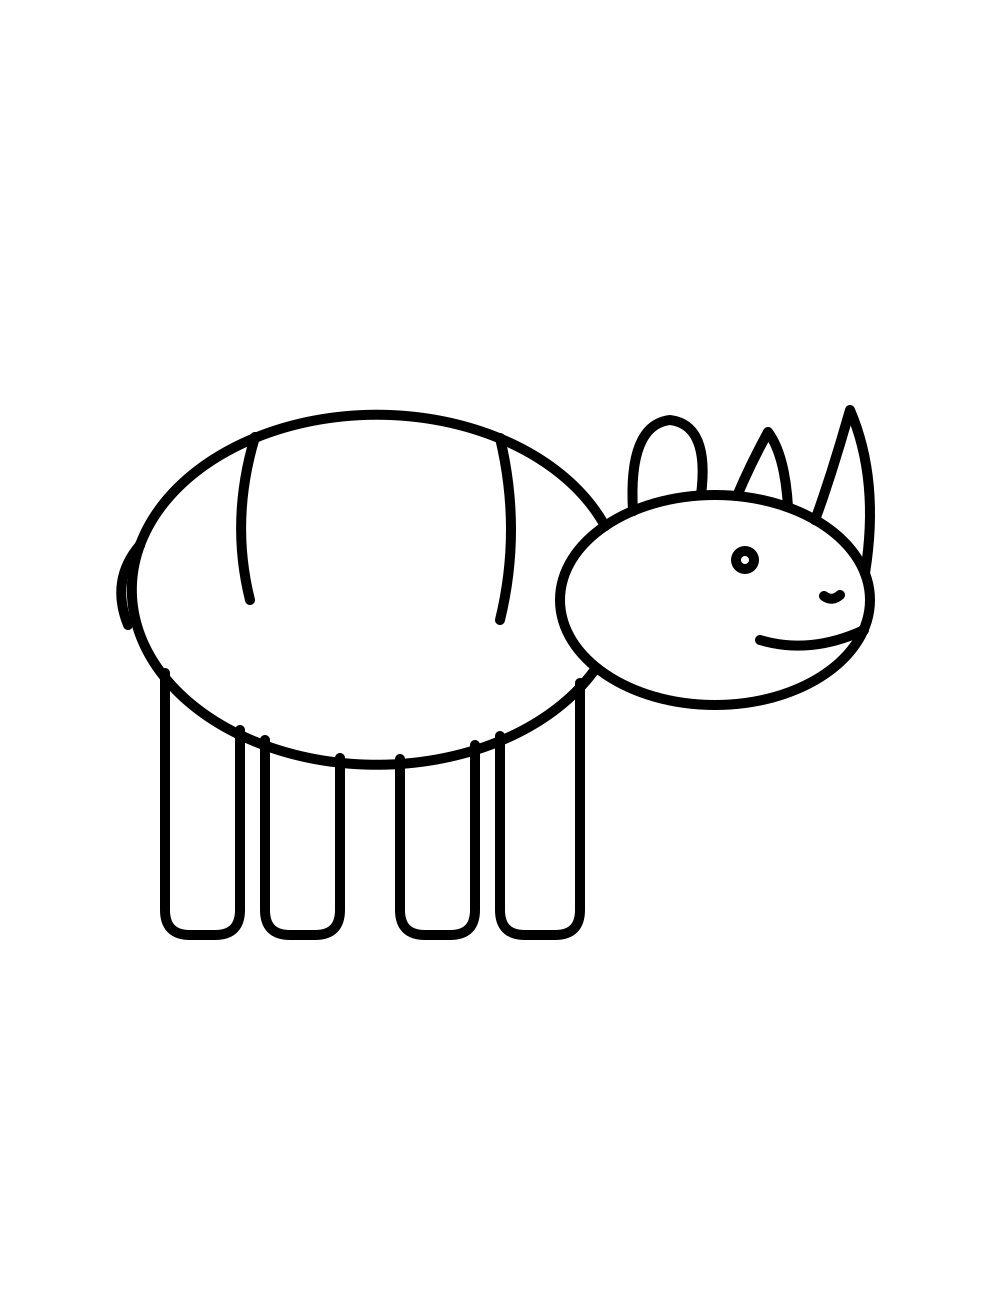
All together
Your finished drawing. Now it is ready for color.
Ready to color?
Print the coloring page of this drawing in three levels, or color it on screen.
Go to the coloring pageTracing worksheet
Print the sheet and trace over the faint lines to practice before you draw on your own.
Questions and answers
- How do I draw the rhino's horn so it looks pointed?
- Start at the nose, draw a curve up to a point, then bring a second curve back down to the head. The horn is wide at the bottom and narrow at the tip. The smaller horn behind it has the same shape, just shorter.
- What are the curved lines on the rhino's body?
- They are folds in the skin, one at the shoulder and one at the hip. Rhino skin is thick and bunches up in those places, so two gentle curves are enough.