How to Draw a Hornbill
A hornbill starts with a tall oval for the body and a round head on top. The very big curved beak comes next, with a smooth casque on top of it. Then draw the thick branch, the two short legs with toes that hold on to it, the folded wing with two feather lines and the long tail that hangs below the branch. Finish with a big round eye and a line along the beak.
Watch it come together
What you need
- Paper
- Pencil
- Eraser
- Black marker or fine pen
- Yellow and black colored pencils
Steps
Step 1 of 8
Draw a tall oval body and a round head on top of it.
Step 2 of 8
Draw a very big curved beak that sticks far out from the head.
Step 3 of 8
Add a smooth bump on top of the beak for the casque.
Step 4 of 8
Draw a thick branch under the body.
Step 5 of 8
Draw two short legs with toes that hold on to the branch.
Step 6 of 8
Add a folded wing with two curved lines for big feathers.
Step 7 of 8
Draw a long tail hanging down below the branch.
Step 8 of 8
Finish with a big round eye and a line along the beak.
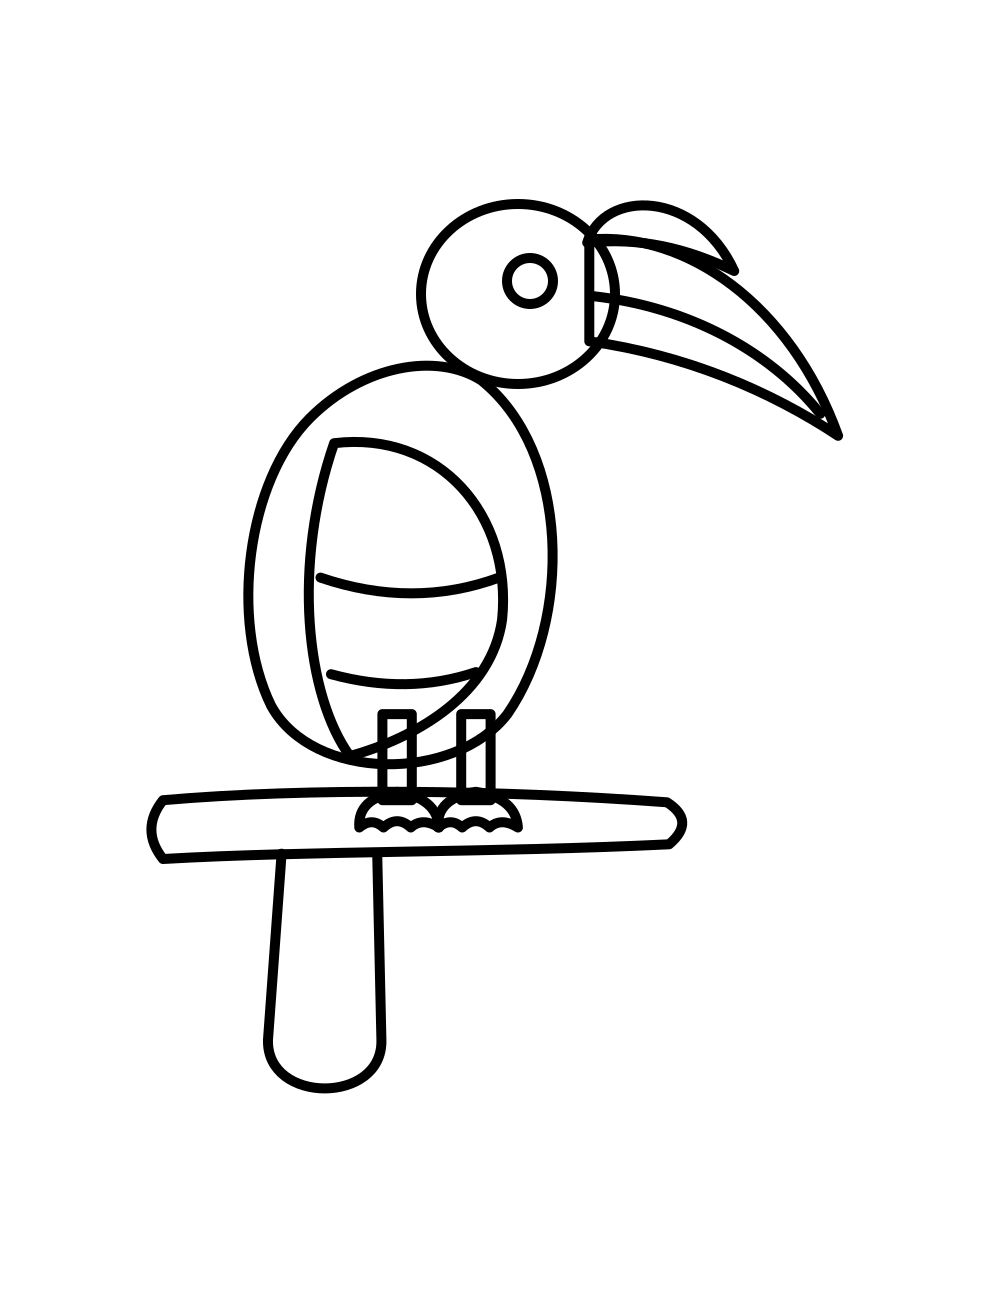
All together
Your finished drawing. Now it is ready for color.
Ready to color?
Print the coloring page of this drawing in three levels, or color it on screen.
Go to the coloring pageTracing worksheet
Print the sheet and trace over the faint lines to practice before you draw on your own.
Questions and answers
- How do I draw the hornbill's beak?
- Start at the front of the head and draw a long curve that bends down to a point, then a second curve back to the head under it. Make it nearly as long as the head is wide.
- How do I make the feet hold the branch?
- Draw the branch first, then two short legs that end on top of it. Draw the toes as small bumps that wrap over the branch line.