How to Draw a Lion
Drawing a lion is easier than it looks, because it is built from simple shapes: a circle for the face, a wavy ring for the mane and an oval for the body. Follow the eight steps below, one new shape at a time. Each step shows the new lines in color and the earlier ones in grey, so you can always see what to add next. When you are done, print the lion coloring page and color your drawing.
Watch it come together
What you need
- Paper
- Pencil
- Eraser
- Black marker or fine pen
- Colored pencils or crayons
Steps
Step 1 of 8
Draw a big circle near the top of the page. This is the lion's face.
Step 2 of 8
Draw a wavy mane all the way around the face: a row of round bumps, like a cloud.
Step 3 of 8
Add two round ears on top, peeking out from behind the mane.
Step 4 of 8
Inside the face, draw an oval muzzle. Add a small triangle nose and a smiling mouth.
Step 5 of 8
Add two big dots for eyes and a few whisker dots on each side of the muzzle.
Step 6 of 8
Under the head, draw a big round body. Stop your lines where they meet the mane.
Step 7 of 8
Draw two front legs with three toes on each paw, and a small oval foot on each side.
Step 8 of 8
Finish with a curly tail on the right, with a leaf-shaped tuft at the end.
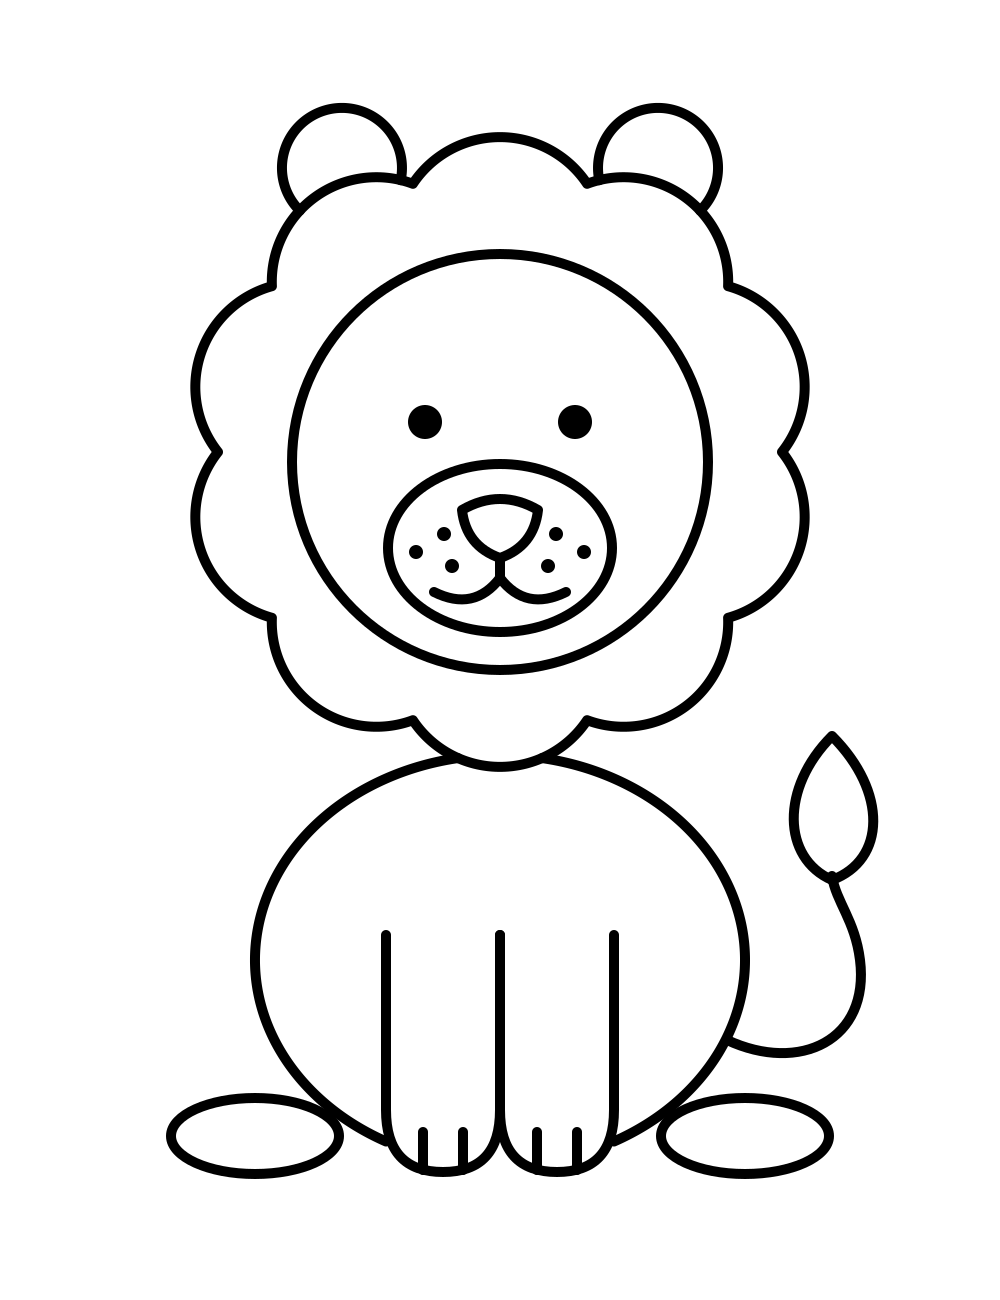
All together
Your finished drawing. Now it is ready for color.
Ready to color?
Print the coloring page of this drawing in three levels, or color it on screen.
Go to the coloring pageTracing worksheet
Print the sheet and trace over the faint lines to practice before you draw on your own.
Questions and answers
- What if my lion's mane looks wobbly?
- That is fine, because a real mane is messy too. Draw lightly in pencil first, then trace over the lines you like with a marker and rub out the rest.