How to Draw a Giraffe
A giraffe is mostly a long neck, a big oval and four legs, so it is a great first animal to draw. Start with the neck, add the body and the head, then finish with legs, patches and a tail. Each of the eight steps adds one thing, and the earlier lines turn grey so you can always see what to draw next. When you are done, print the giraffe coloring page and color your own.
Watch it come together
What you need
- Paper
- Pencil
- Eraser
- Black marker or fine pen
- Yellow, orange and brown pencils
Steps
Step 1 of 8
Draw two long, slanted lines for the neck. Leave room above them for the head.
Step 2 of 8
Draw a big oval for the body, starting at the bottom of the neck.
Step 3 of 8
At the top of the neck, draw the head: a rounded shape with a longer muzzle on the left.
Step 4 of 8
Add two short horns with round knobs on top of the head, and a leaf-shaped ear on the right.
Step 5 of 8
Draw a dot for the eye, a small dot for the nostril and a smile on the muzzle.
Step 6 of 8
Draw four legs under the body, with a short line across the bottom of each one for the hoof.
Step 7 of 8
Fill the neck and body with rounded patches of different sizes, leaving a little space around each.
Step 8 of 8
Finish with a thin tail on the right, with a small tuft at the end.
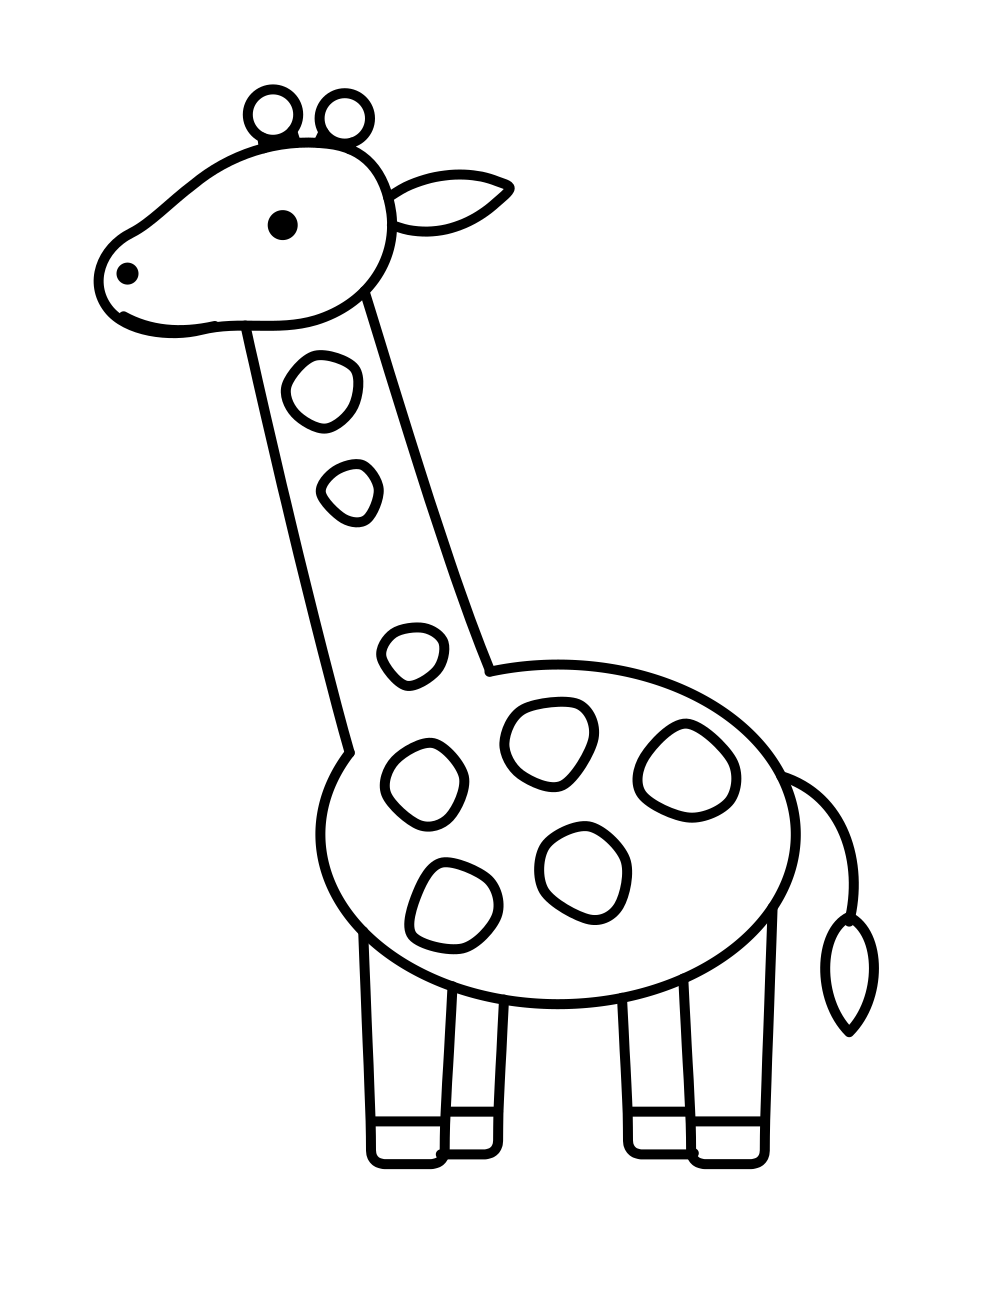
All together
Your finished drawing. Now it is ready for color.
Ready to color?
Print the coloring page of this drawing in three levels, or color it on screen.
Go to the coloring pageTracing worksheet
Print the sheet and trace over the faint lines to practice before you draw on your own.
Questions and answers
- How do I make the patches look natural?
- Draw each patch as a rounded blob and make them different sizes, leaving a small gap between them. Giraffe patterns are never exactly the same, so you cannot get it wrong.