How to Draw an Okapi
An okapi starts with a long oval body that slopes down toward the back, and a long head that points down at the front. A neck joins them, and four long legs step along under the body. Then come the big ears, the short horns and a small tail. Save the stripes for the end, because they are what turn the drawing into an okapi.
Watch it come together
What you need
- Paper
- Pencil
- Eraser
- Black marker or fine pen
- Brown and cream colored pencils
Steps
Step 1 of 8
Draw a long oval for the body that slopes down toward the back.
Step 2 of 8
Draw a long head that points down at the front, with the nose at the end.
Step 3 of 8
Draw two lines for the neck from the body up to the head.
Step 4 of 8
Draw four long legs that get thinner at the bottom, with the front one stepping forward.
Step 5 of 8
Draw two big ears and two short horns with round tips on top of the head.
Step 6 of 8
Add a small tail at the back with a tuft at the end.
Step 7 of 8
Draw a dot for the eye and a nostril at the end of the nose.
Step 8 of 8
Draw bold stripes on the back legs and the rump that stop before the other lines.
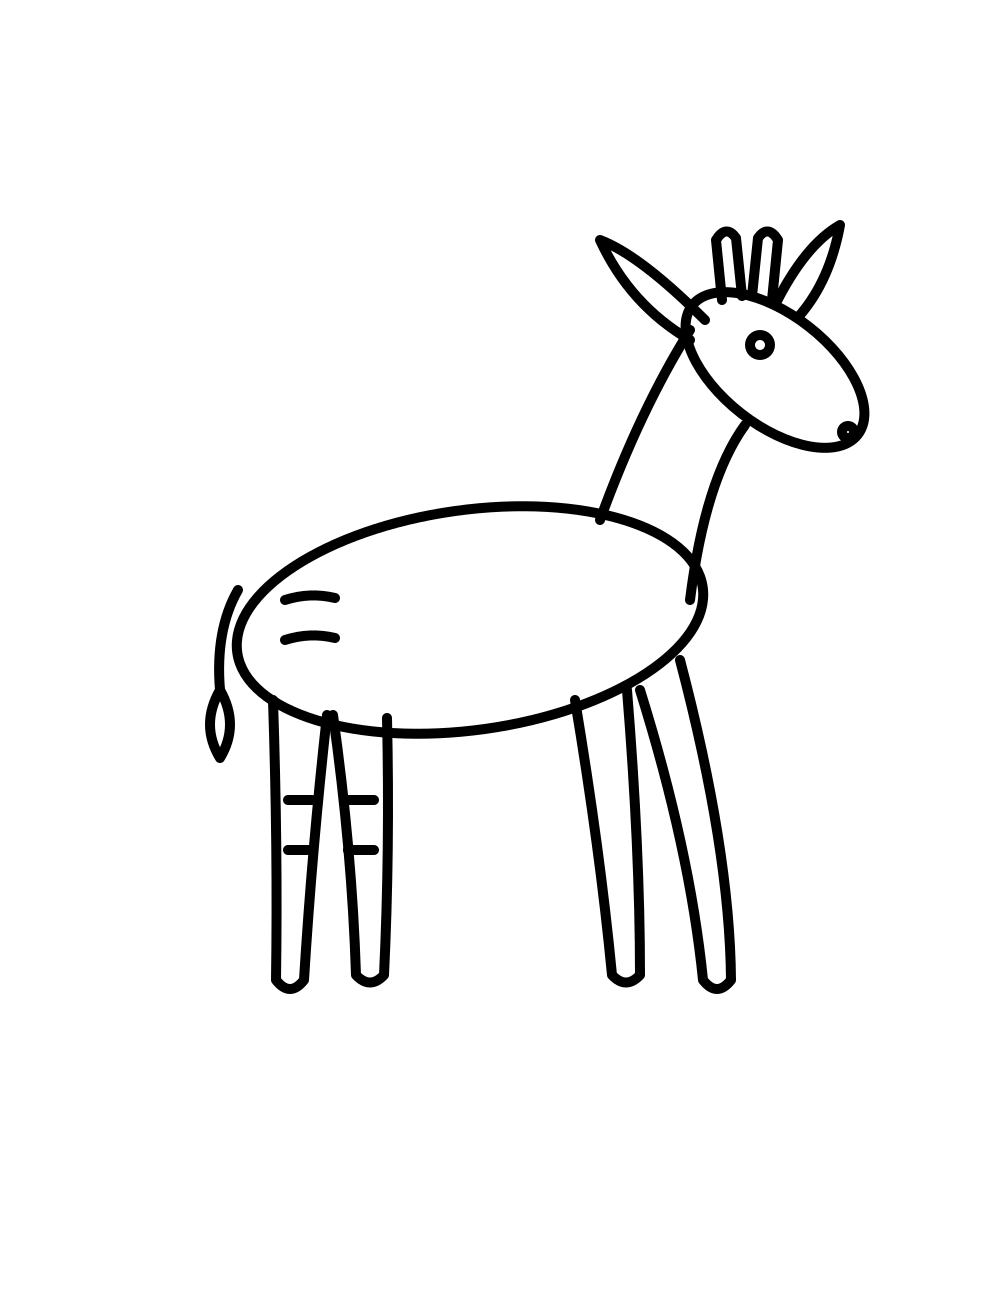
All together
Your finished drawing. Now it is ready for color.
Ready to color?
Print the coloring page of this drawing in three levels, or color it on screen.
Go to the coloring pageTracing worksheet
Print the sheet and trace over the faint lines to practice before you draw on your own.
Questions and answers
- How do I draw the okapi's stripes?
- Draw short, wavy bands across the back legs and the rump, one under the other. Close each band into a shape and stop it a little before the outline, so every stripe is an area you can color.
- How are an okapi's horns different from a deer's?
- They are short and straight with round tips, like small knobs. Draw them as two little rounded shapes between the ears.